15 DIY Home Projects Under $30 You Need to Try This Spring

Spring is the season of flowering plants, warmer weather and getting things done. Do-it-yourself projects offer a lot of bang for the buck when it comes to upgrading your home, and it can be fun. Many projects can be completed in an afternoon and are easy enough that the kids can help.
Read More: 10 Things You Always (and Never) Should Buy at the Dollar Store
Discover: 10 Kitchen Renovations That Will Hurt Your Home's Value
Click through to discover budget-friendly DIY projects that will cost you less than $30.
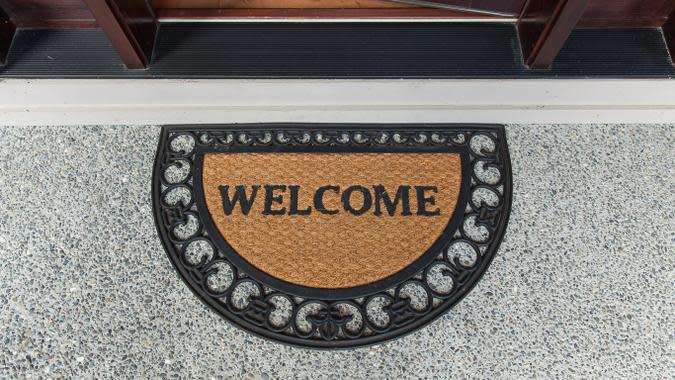
Fruit Slice Welcome Mat
Add a playful pop of color outside your front door with a DIY fruit slice doormat. To make the doormat, purchase a semicircle doormat that doesn't have a textured design on it. Home Depot, Target and Walmart have good deals on home goods. It doesn't matter if the mat has words or printing on it since you'll paint over it anyway -- so go with the cheapest one you can find.
Place the doormat on a tarp outside, spray paint the mat white and let it dry, then spray paint the mat to resemble a slice of watermelon or your favorite citrus fruit. Make paper or tape stencils to block off specific areas of the fruit design, such as the rind, as you add each color, suggested the design blog The House That Lars Built.
The total estimated cost for a fruit slice welcome mat is $28.25, assuming you have paper or tape for stencils. Here's what you'll need:
Semicircle doormat: $13.00
Tarp: $5.99
White spray paint: $4.28
Colored spray paint: $4.98

Birdseed Rings
Spring brings with it lots of lovely things, including varieties of birds in your backyard. Keep them happy -- and fed -- by making birdseed rings to hang from a tree within view of a window so you can enjoy the experience, too. According to Corner Blog, boil one cup of water, then pour it into a large metal or glass bowl. Stir in three packs of unflavored gelatin and five cups of a birdseed blend that contains large seeds such as sunflower seeds.
Grease two six-doughnut baking pans with vegetable oil, then fill one with the birdseed blend, mounding the seed mixture to create a doughnut shape. Place the second tray over the first, hole side down, then clamp the pans together with binder clips. Set the pans in the refrigerator to cool for four hours or longer, then remove the seed rings and hang them outdoors with natural twine.
The total estimated cost for creating birdseed rings is $20.69, assuming you have a large metal or glass bowl. Here's what you'll need:
Doughnut pan: $11.69
Bag of birdseed: $3.19
Box of unflavored gelatin packets: $1.56
Vegetable oil: $2.28
Twine: $1.97
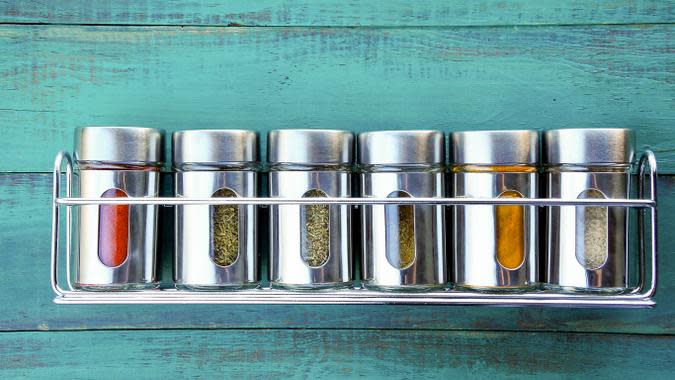
Magnetic Spice Rack
You could buy this well-liked spice rack at IKEA, but you also can keep spice jar clutter under control with a DIY magnetic spice rack that'll spice things up. Visit a home improvement store and select a piece of magnetic sheet metal that is small enough to fit the side of a kitchen cupboard or inside a cupboard door, according to Garden Betty. To cut the metal sheet, use tin snips.
Purchase a set of good quality four-ounce tins from a craft store, then epoxy strong magnetic discs to the bottom of each. Print out sticky labels for each spice you own, then apply one label to each jar lid. Secure the sheet metal to the desired location with construction adhesive, screws or adhesive strips.
The total estimated cost for a magnetic spice rack is $25.03, assuming you have epoxy glue and, if needed, tin snips. Here's what you'll need:
Metal sheet, 12 inches x 24 inches: $9.81
10 four-ounce tins with lids: $7.60
12 disc magnets: $5.99
Self-adhesive labels: $1.63
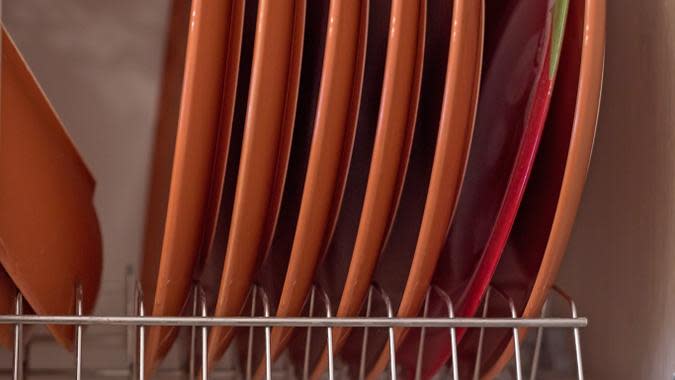
Tame Cabinet Clutter
Cutting boards, cookie sheets and platters are difficult to stack neatly inside a kitchen cupboard, resulting in a clattering mess. Martha Stewart's website suggested getting your clutter under control by installing tension rods vertically between one shelf and the next. Slide those cookie sheets and other large, shallow items between tension rods to keep cupboard clutter under control.
The total estimated cost to tame your cabinet clutter is $11.99. Here's what you'll need:
Five-pack of cupboard tension rods: $11.99

Revive Your Solar Lights
Solar lights offer an excellent -- and movable -- source of lighting around your walkways and flowerbeds, but they tend to malfunction after being left out in the changing weather season after season. Often, the malfunction is due to dirty, cloudy plastic over the solar panel.
Fortunately, you can avoid wasting your money on replacements. Instead, revive those dingy solar lights by first wiping them down with a soft, damp cloth -- especially the solar panels. Once they're dry, apply a coat of clear nail polish over the solar panel area to revive and protect it. The lights should work like new once again. A bottle of nail polish is rather small so make sure to grab as many as you'll need for the number of lights you have.
The total estimated cost for reviving your solar lights is $10.99, or the cost of of a six pack of clear nail polish from Amazon.
Clear nail polish: $10.99 for six
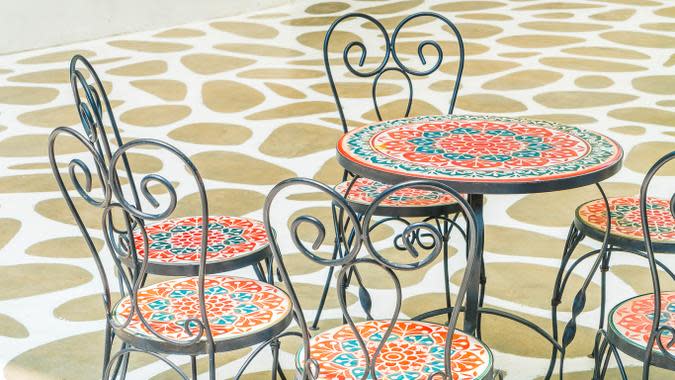
Outdoor Terra Cotta Table
'Tis the season for enjoying nice weather out on the patio, porch or deck. You can create your own terra-cotta storage table to use next to your outdoor furniture.
Buy a large terra-cotta pot and a planter tray that fits the top without falling inside. For a lighter version, purchase a durable fiberglass plant pot and matching tray instead. Paint the rims of the terra-cotta pot and tray to match your patio furniture cushions using exterior paint. Once dry, set the pot where you wish to add a table, then set the tray on top of the pot.
The total estimated cost for an outdoor terra-cotta table is $22.47. Here's what you'll need:
Large terra-cotta pot with tray: $19.98
A pint of exterior paint: $2.49

Pounded-Grass Placemats
Celebrate the season of green with a set of DIY pounded-grass placemats. Purchase a set of plain linen or light-colored cotton placemats and a tray of live wheatgrass, which can be found at natural markets and some grocery stores, according to MarthaStewart.com.
To create the grassy designs, trim blades of wheatgrass several inches long, then arrange the blades next to one another along one edge of each placemat. Set a piece of cardstock over the grass to keep it in place, then pound the cardstock gently with a mallet or hammer. Remove the cardstock and grass to reveal the design. This design will eventually fade after several washes.
The total estimated cost for pounded-grass placemats is $23.79. Here's what you'll need:
Set of two linen placemats: $13.79
Wheatgrass: $10.00
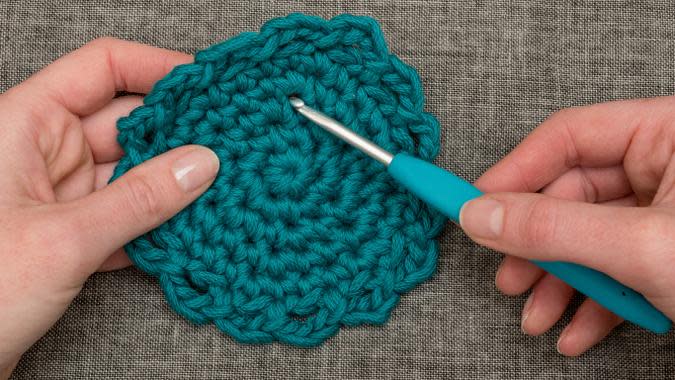
Wool Coasters
Instead of wondering what to do with your old shrunken or stained wool sweaters, Good Housekeeping suggested transforming them into drink coasters. Wash the woolens in hot water, then dry them on high heat with hefty laundry items such as jeans.
After several wash-and-dry sessions, the wool transforms into felt. Trace the mouth of a wide mug onto the wool several times, cut out the discs and you have a new set of wool coasters. Thrift-store wool sweaters are ideal for this project. With a project this easy, kids might even enjoy creating their own coasters from old sweaters.
The total estimated cost for wool coasters is $0 as long as you have a washer, dryer and an old sweater.
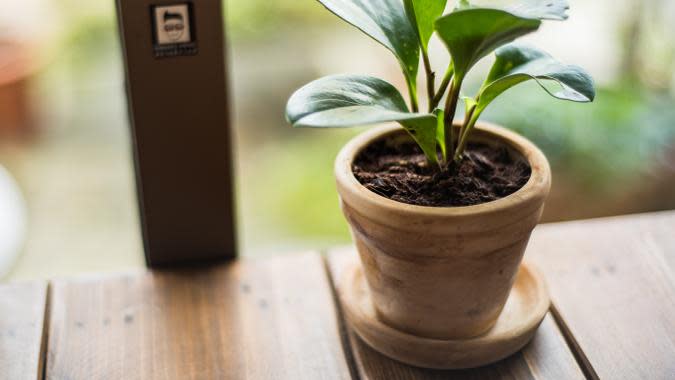
Dip-Dye Ombre Planters
You can ombre and dip-dye items to add a trendy, fresh look to your home, according to craft blog I SPY DIY. Upgrade a series of plain white ceramic planters by dip-dyeing them in liquid designed for tie-dyeing fabric.
To create the ombre or fade effect, mix the tie-dye solution according to package directions, then dip a pot halfway in, holding it for five seconds or until you see a bit of color. Dip the pot again, not quite as far, and hold it for 10 seconds. Repeat a third time, holding it even longer to create a darker shade of the same color.
The total estimated cost for dip-dye ombre planters is $10.47 Here's what you'll need:
Set of two hexagonal white ceramic planters: $7.98
Eight-ounce bottle of dye: $3.49

Washi Tape Picture Frames
Instead of framing your photos and hanging the frames on the wall with nails, you can make your own Washi tape frames instead, according to Design*Sponge. Washi tape, a more decorative cousin to masking tape, comes in a variety of colors and patterns that are perfect for wall decor. Apply the tape in geometric shapes around each photo, or overlap washi tape colors for a playful effect.
The total estimated cost for Washi tape picture frames is $10.99. Here's what you'll need:
Assorted Washi tape: $10.99

Typography Throw Pillow
Create your own customized pillow by upgrading a throw-pillow cover with a favorite saying, monogram or simple graphic design. Print out the desired lettering or design on paper, cut the design out, then trace around it onto the pillow cover using a chalk fabric pencil, according to the blog Love, Pomegranate House.
Paint inside the lines with acrylic craft paint or fabric paint, placing cardboard inside the pillow cover to prevent bleed-through. Place the cover back on the pillow after the paint dries. This technique can also be used to customize pillowcases and bed sheets.
The total estimated cost for a typography throw pillow is $14.35. Here's what you'll need:
Throw pillow cover: $4.99
Chalk fabric pencil: $5.99
Fabric paint: $3.37
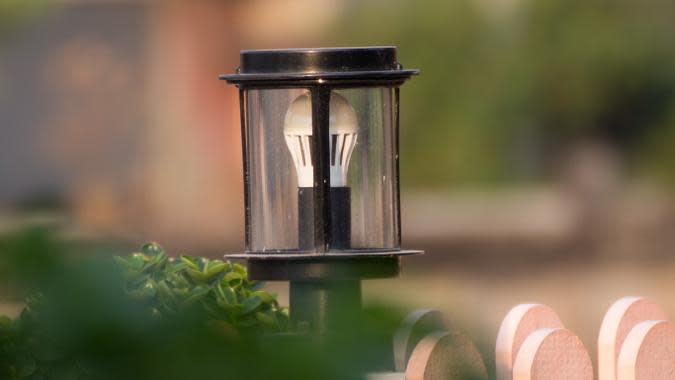
Solar Fence Lights
Upgrade your fence with a series of lanterns that look expensive but aren't, using this idea from Running With Scissors. Lantern-shaped solar lights from a discount store serve as the sources of light. Attach decorative metal plant-basket hangers on fence posts for even spacing. Hang the solar lanterns from the plant hooks.
The total estimated cost for solar fence lights is $18.37. Here's what you'll need:
Set of two solar lanterns: $12.59
Two plant hangers: $5.78
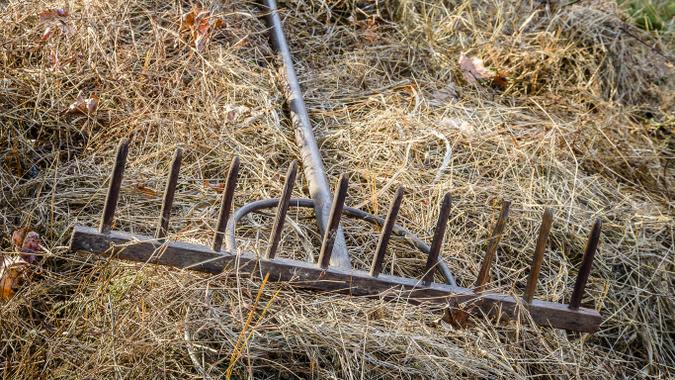
Old Rake Tool Hanger
Old metal garden rakes with lost or broken handles aren't completely useless, according to DIY blog Art Stuff. Give that old rake head new life as a holder for small garden tools such as spades and weed pullers. Hammer two nails parallel to one another on the side of a shed or on a board in the garage to hang the rake head. Hang each garden tool from a tine or prong on the rake, using loops of leather shoelace material to hang each piece.
The total estimated cost for an old rake tool hanger is $6.59. Here's what you'll need:
Spool of natural leather cord: $6.59

Cement Planters
If you're planting a budget-friendly garden this year, you'll want some equally frugal planters.
Store-bought planters tend to either be boring or too pricey if you need a number of them. Make your own, completely unique planters out of cement instead, using this idea from Remodelaholic. Disposable plastic containers, bowls or even milk cartons serve as the molds for your planters.
Mix Portland cement in a bucket according to directions on the bag, then pour a layer at least 1/2-inch thick into the larger of your mold-making materials. Place plastic wrap over the outside of the inner mold form, and then place the inner mold form on top of the wet cement, then pour in more cement until it nearly reaches the top of the outer mold form. Once it dries, remove the inner form and smooth the cement with a rock or sandpaper.
The total estimated cost for cement planters is $9.99. Here's what you'll need:
One bag of Portland cement: $9.99

Hand-Painted Plant Markers
Spring is the time to get that garden started, but once the plants start to sprout, it might be difficult to remember which vegetable is which. Solve the problem with a set of hand-painted stone plant markers, according to handmade toy blog Adventure in a Box.
Find and clean several smooth stones, opting for ones that resemble the shapes of carrots, eggplant or other vegetables you've planted. Paint their tops to resemble the planted vegetables, or paint the name of each plant on each stone and set them in the garden immediately after planting the seeds or seedlings.
The total estimated cost for hand-painted plant markers is $10.99 for four different colors of paint, assuming you have or can find stones. Here's what you'll need:
Acrylic craft paint: $10.99
More From GOBankingRates
This article originally appeared on GOBankingRates.com: 15 DIY Home Projects Under $30 You Need to Try This Spring
